Camera stand for Raspberry Pi
Introduction
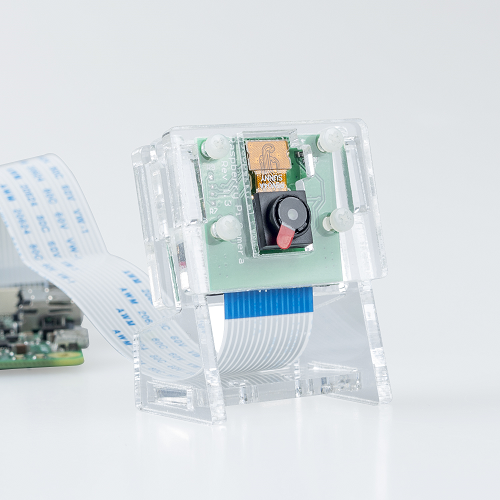
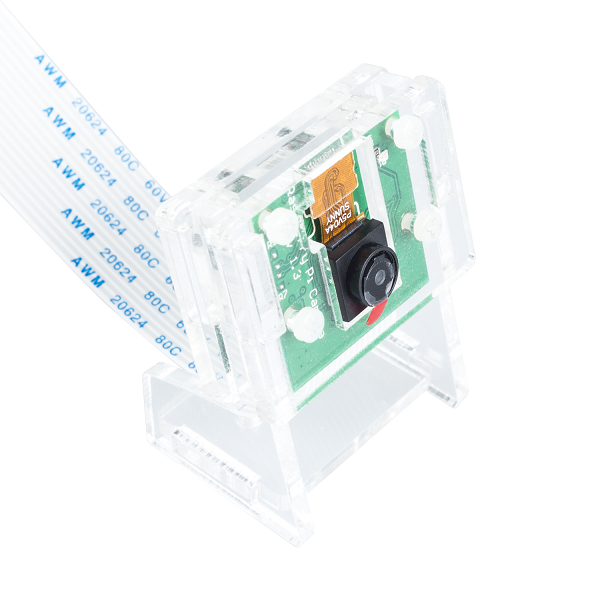
Imagine a sandwich without the outer breads. Or a pizza without a base. Without the bread, the sandwich would not be held together and it would just be vegetables, cheese and sauce. Same goes for the pizza, without the base, well it would not be a pizza in the first place. With Raspberry Pi's official camera, it is the same thing. You might not be able to install it easily as it will not be easily held together. To fix this problem, we designed a sleek case to keep your Pi camera safe and stand up.
The case is as minimal as it gets, coming in 6 pieces of clear acrylic plates that snap perfectly together. The case is suitable for Pi, RPi official Pi NoIR Camera V2 and Camera Module V2; similarly, it’s applicable to SunFounder 5 megapixels camera.
Feature List
- Applicable Versions: RPi official Pi NoIR Camera V2 and Camera Module V2, SunFounder 5 Megapixel Camera
- Color: Transparent
- Material: Acrylic
Preparation
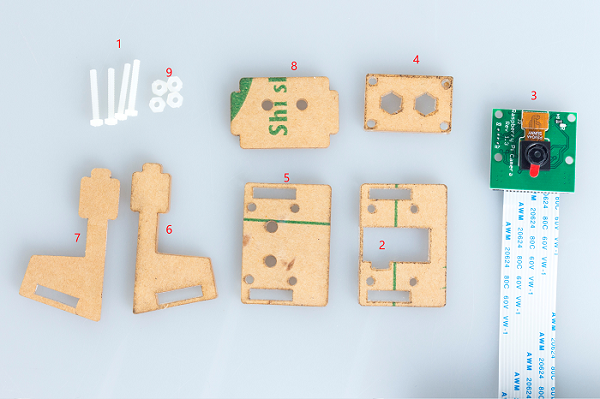
Product List
- 1 set of Clear Acrylic Plates
- 4 x Nylon Screws
- 4 x Nylon Nuts
Required Preparation
- Camera
Hardware Operation
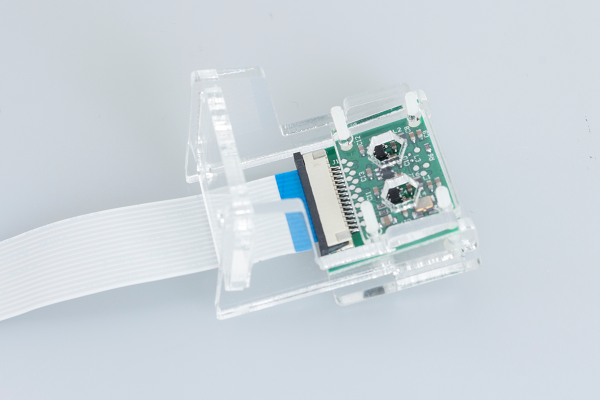
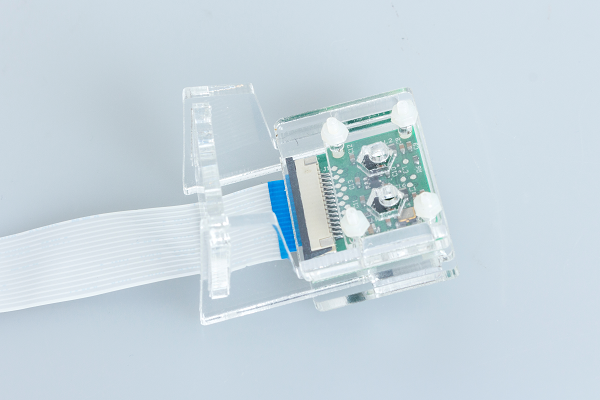
a. Tear the protective paper off the parts' surfaces and then place the parts in order.
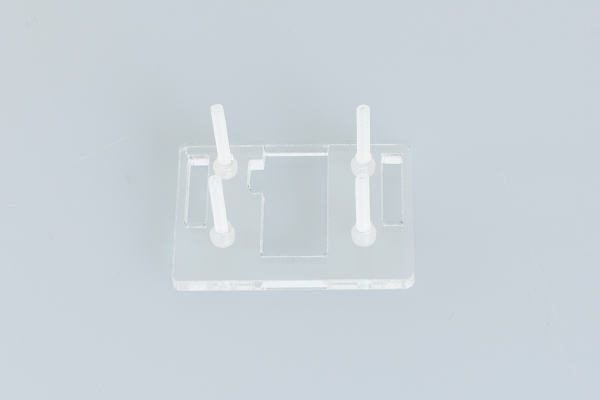
b. Put the part 2 on the part 1 as shown.
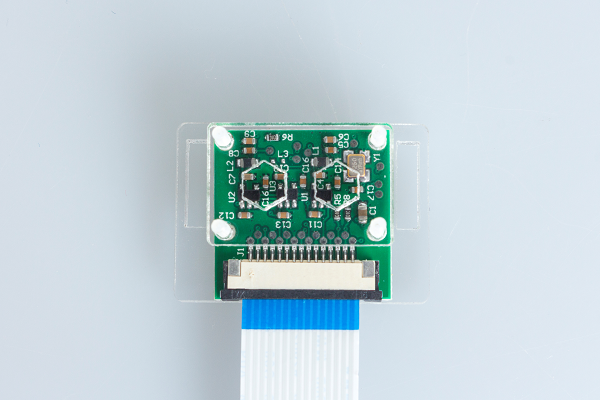
c. Assemble the camera on the parts 1 & 2.Stack the part 4 on the camera as shown.
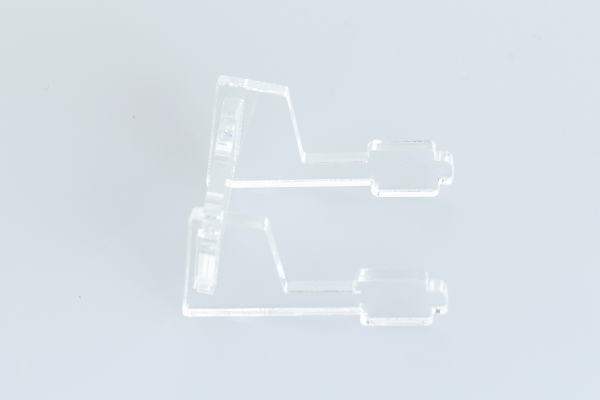
d. Connect 6, 7, & 8 as shown.
e. Put the assembled part composed of 6, 7 & 8 on the part 4; try to insert the two tips of 6 & 7 into the proper slots of the part 2.
f. Align the left and the right slots of the part 5 with that on parts 6 & 7 and then joint these parts.Put the part 9 on the part 1, screw to fix them. Repeat the action 4 times.
