SunFounder Mercury Board
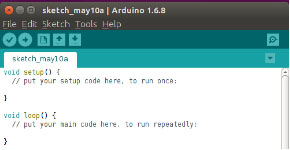
Double click the Arduino icon (arduino.exe) created by the installation process. Then an empty IDE window will appear.
Now open an example sketch (code file) to learn the basics. Select File > Examples. There are some built-in examples sketches included in the IDE. As a beginner, you can start from studying these examples.
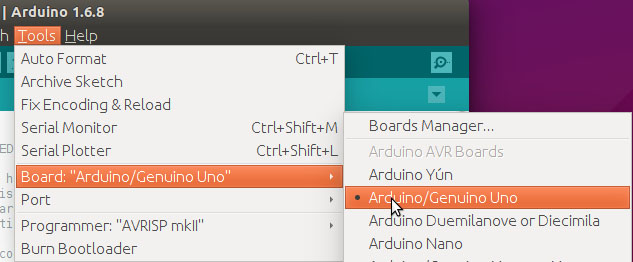
Before uploading the code to your board, first you need to select the correct board. For example, select Adruino/Genuino Uno if you’re using an Uno board.
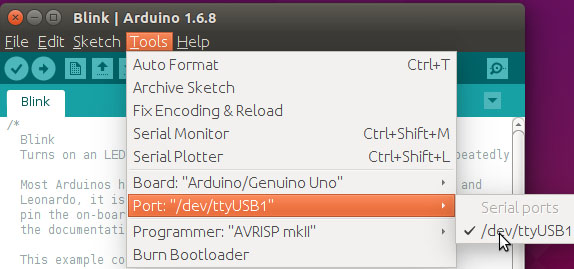
Then select Port. The port here (/dev/ttyUSB1) may be different from the Arduino board name (Uno, etc.).
Click the right arrow button to upload the sketch to the Arduino board. If "avrdude:ser_open():cann’t open device”/dev/ttyUSB1”:Permission denied" is prompted, you need the permission to open the serial port. Take the following steps.
Open a terminal and type in:
ls –l /dev/ttyUSB*
Then the following contents will appear:
crw-rw---- 1 root dialout 166,0 May 11 17:52 /dev/ttyUSB1
The data we need is "dialout" (the group owner of the file).
Now we just need to add a user to the group:
sudo usermod -a -G dialout <username>


