Raspberry Pi 7" HD 1024*600 TFT LCD Screen Display Settings
Contents
Premise
When applying the Raspberry Pi 7" HD 1024*600 TFT LCD Screen Display, you may encounter the issue of wrong resolution which cause difficulties in reading too small characters or incomplete display. In this article you will learn how to solve this resolution issue.
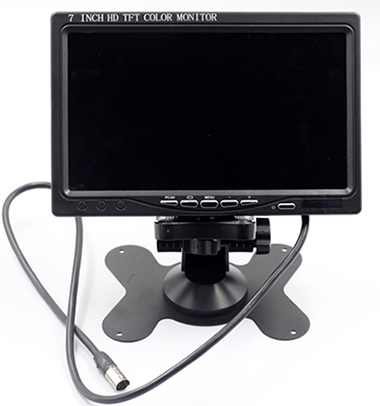

Specification
- Screen size: 7 inch Display
- Ration: 16:9/4:3 adjustable
- Display Component: Color TFT-L
- Resolution: 1024*600 Pixels
- Support adjust the brightness, contrast, color
- Input Signal: PC(VGA),AV1,AV2,HDMI
- Power: DC 12V
- Consumption: 6W
- Video: two way video input
- Frequency: PAL/NTSC
- Rear watching: image can be changed left and right
- Operate mode: the key operation and remote control
- Automatically displays blue screen when no signal
- Parking rearview priority
- Product Dimensions: 174*114*33mm (L*W*D)
The display is available at:
http://www.sunfounder.com/index.php?c=showcs&id=97&model=7inch%20LCD&pname=Raspberry%20Pi&name=Module&pid=22
Solution
To solve issue, here we just need to modify the /boot/config.txt file. Take the following procedures.
Step 1: Open config.txt
There are two methods to do so.
Method A:
First prepare a computer on Windows, Mac or Linux, and a TF card on which the Raspbian system has been burnt. Plug the TF card into the computer with a card reader.
Now, open /boot and find the config.txt file. If your computer runs on Windows, DO NOT open the file by Word (also better not notepad) in case of format issues. You are advised to use other edit tools like Notepad++
Method B:
Log in to Raspberry Pi remotely. Run the command to edit config.txt
sudo nano /boot/config.txt
Step 2: modify the config.txt file
In either way, now the file config.txt is opened.
1) Find the following lines (If there is a "#" mark at the beginning of any of the three lines, which means they are comments, delete the mark. The asterisk "*" represents the value.)
hdmi_group=*
hdmi_mode=*
hdmi_drive=*
2) Modify the value, like this:
hdmi_group=2
hdmi_mode=14
....
hdmi_drive=2
hdmi_group=2 means DMT (Display Monitor Timings; the standard typically used by monitors)
hdmi_mode=14 indicates the resolution bit.
hdmi_drive=2 selects the Normal HDMI mode.
For more details about configuring config.txt, refer to Raspberry Pi official website: https://www.raspberrypi.org/documentation/configuration/config-txt.md.
3) Find the line
#hdmi_force_hotplug=1
Make sure there is a "#" mark at the beginning; otherwise, add the mark.
After the modification is done, save and exit.
Step 3: Connect Raspberry Pi
If you change the commands on your PC, after mounting the TF card safely, plug it into the Raspberry Pi. Then connect the power of the Raspberry Pi and the display.
If you log in the Raspberry Pi remotely with ssh, type in the command sudo reboot.
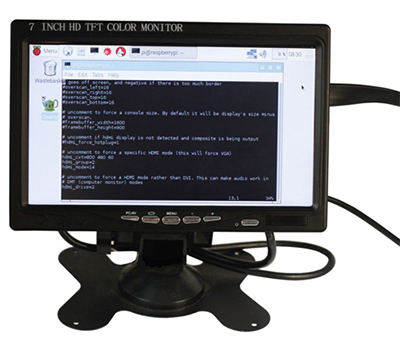
Step 4: Select HDMI mode
After reboot, if the screen is still black, press the leftmost PC/AV button and select the HDMI mode. The screen will be rebooted and then display the homepage.
It should look like this:


If you have any questions, contact us by email: support@sunfounder.com. And please try to describe your problem as clearly as possible. The more information you provide, the better and faster we can help solve your issue!