Digital Light Intensity Sensor Module (GY-49)
Contents
[hide]Introduction
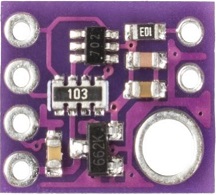
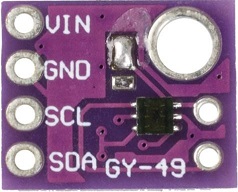
MAX44009 ambient light sensor has I2C digital output, it can be widely applied in smart phone, laptop, industrial sensors and so on. With the working current less than 1µA, it is the ambient light sensor with the lowest power consumption in the industry and has 22-bit ultra-wide dynamic range (0.045lm~188,000lm). Because MAX44009 can detect extremely faint light, it can work well though covered by dark-colored glass.
Features
- Wide Detection Range: 0.045lm~188,000lm
- Small size, 2mm x 2mm x 0.6mm UTDFN-Opto package
- VCC = 1.7V~3.6V
- Working Current ICC = 0.65µA
- Working Temperature: -40°C~+85°C
- Device Optional Address
- 1001 010x and 1001 011x
Introduction of Pins
| Introduction of Pins | |
|---|---|
| VIN | Anode of the power supply |
| GND | ground |
| SCL | I2C clock |
| SDA | I2C data |
Principle
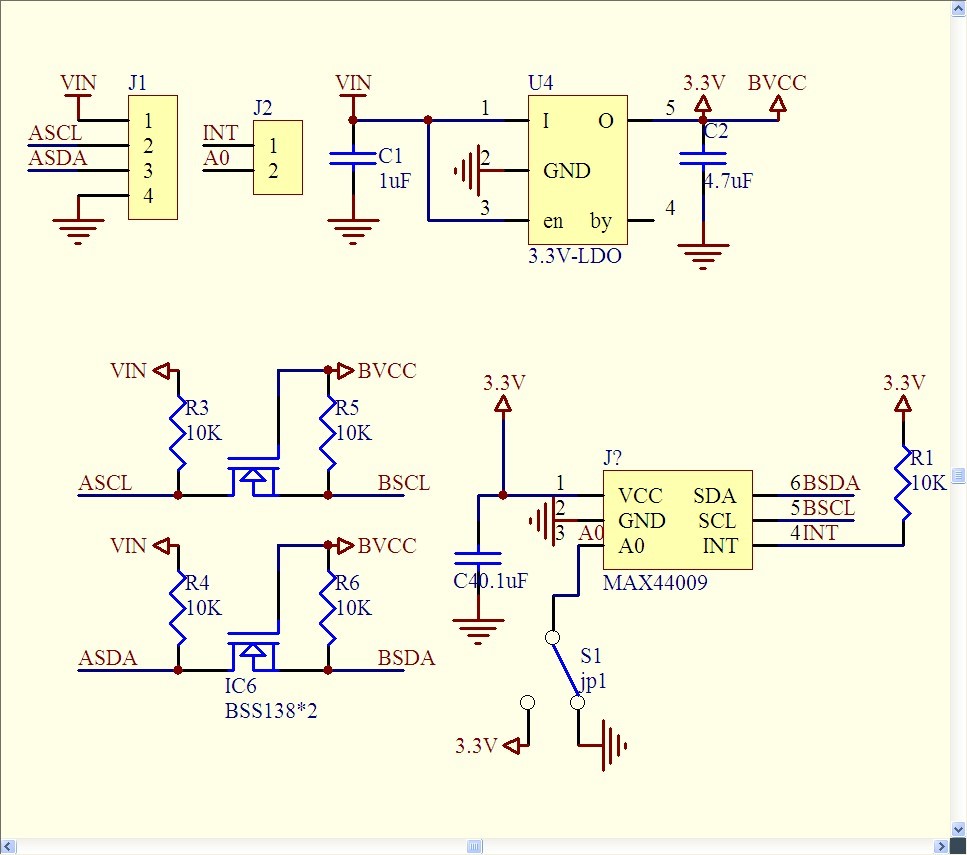
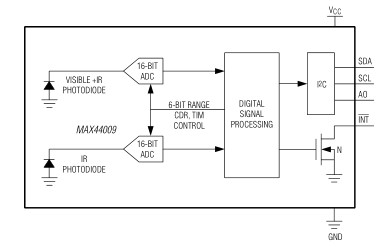
The MAX44009 ambient light sensor features an I2C digital output that is ideal for a number of portable applications such as smart phone, notebook, and industrial sensor. At less than 1µA operating current, it is the lowest power ambient light sensor in the industry and features an ultra-wide 22-bit dynamic range from 0.045 lux to 188,000 lux.
Low light operation allows easy operation in dark-glass applications.
The on-chip photodiode’s spectral response is optimized to mimic the human eye’s perception of ambient light and incorporates IR and UV blocking capability. The adaptive gain block automatically selects the correct lux range to optimize the counts/lux.
The IC is designed to operate from a 1.7V to 3.6V supply voltage range and consumes only 0.65µA in full operation. It is available in a small, 2mm x 2mm x 0.6mm UTDFN-Opto package.
Applications
- Tablet PCs/Notebook Computers
- TVs/Projectors/Displays
- Digital Lighting Management
- Portable Devices
- Cellular Phones/Smartphones
- Security Systems
Experimental Procedures for Arduino
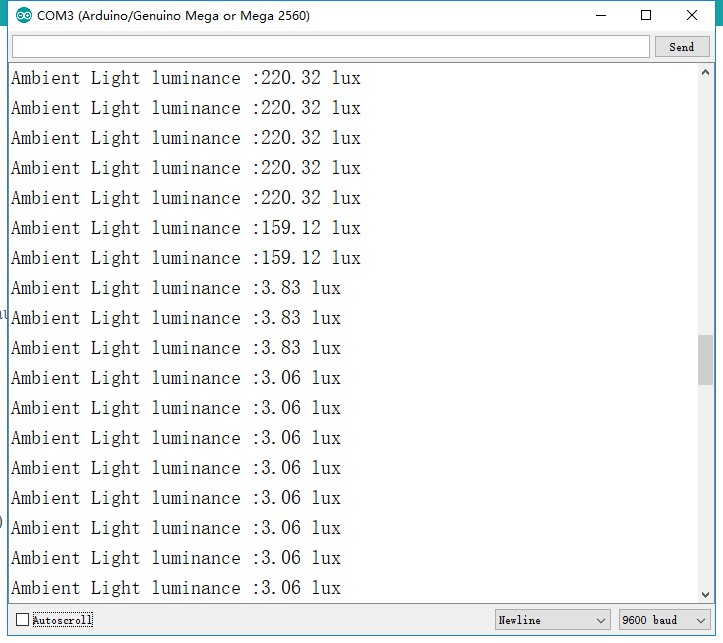
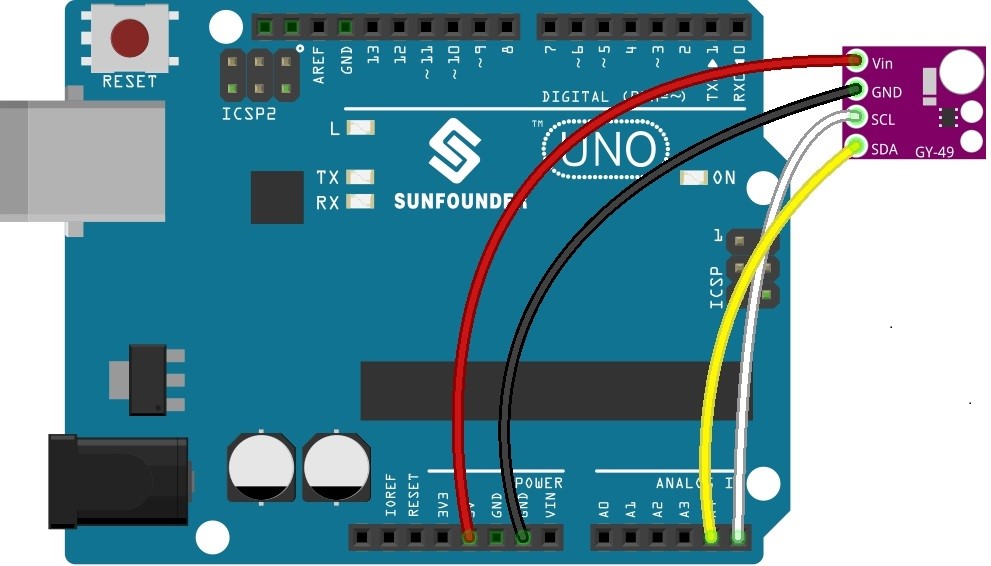
Step 1: Connect the circuit:
Step 2: Compile and upload the code.
/****************************************/
// Distributed with a free-will license.
// Use it any way you want, profit or free, provided it fits in the licenses of its associated works.
// MAX44009
// This code is designed to work with the MAX44009_I2CS I2C Mini //Module available from ControlEverything.com.
// https://www.controleverything.com/products

#include<Wire.h>

// MAX44009 I2C address is 0x4A(74)
#define Addr 0x4A

void setup()
{
  // Initialise I2C communication as MASTER
  Wire.begin();
  // Initialise serial communication, set baud rate = 9600
  Serial.begin(9600);

  // Start I2C Transmission
  Wire.beginTransmission(Addr);
  // Select configuration register
  Wire.write(0x02);
  // Continuous mode, Integration time = 800 ms
  Wire.write(0x40);
  // Stop I2C transmission
  Wire.endTransmission();
  delay(300);
}

void loop()
{
  unsigned int data[2];

  // Start I2C Transmission
  Wire.beginTransmission(Addr);
  // Select data register
  Wire.write(0x03);
  // Stop I2C transmission
  Wire.endTransmission();

  // Request 2 bytes of data
  Wire.requestFrom(Addr, 2);

  // Read 2 bytes of data
  // luminance msb, luminance lsb
  if (Wire.available() == 2)
  {
    data[0] = Wire.read();
    data[1] = Wire.read();
  }

  // Convert the data to lux
  int exponent = (data[0] & 0xF0) >> 4;
  int mantissa = ((data[0] & 0x0F) << 4) | (data[1] & 0x0F);
  float luminance = pow(2, exponent) * mantissa * 0.045;

  // Output data to serial monitor
  Serial.print("Ambient Light luminance :");
  Serial.print(luminance);
  Serial.println(" lux");
  delay(300);
}
