Unrecognized Hardware Issue for CC3D
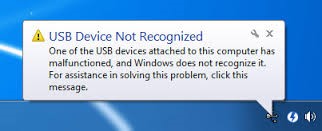
It happens that your CC3D board may not be recognized by the computer. Now let's check how to solve the problem - re-flash the bootloader and hardware.
Preparations
1.Flash Loader Demonstrator

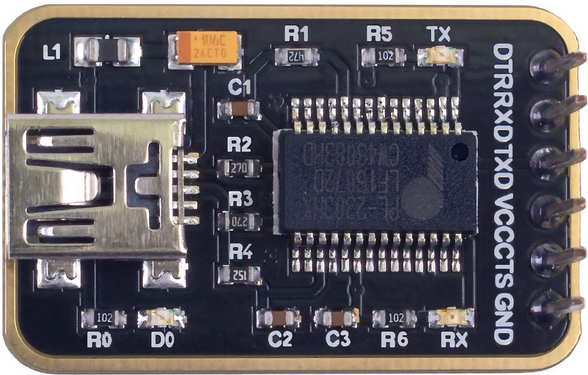
2.The PL2303 Mini USB to UART board
1. Bootloader
Step 1: Wiring
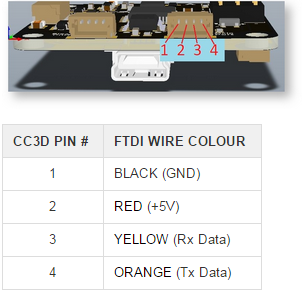
Step 2: Connect the 3.3V and SBL on the CC3D board as shown below. You can do it by some metal tool.
Then take the rest actions based on the following instructions.
Download the CC3D bootloader.zip,CC3D bootloader.zip ,unzip it and install the Flash Loader Demonstrator in the folder.
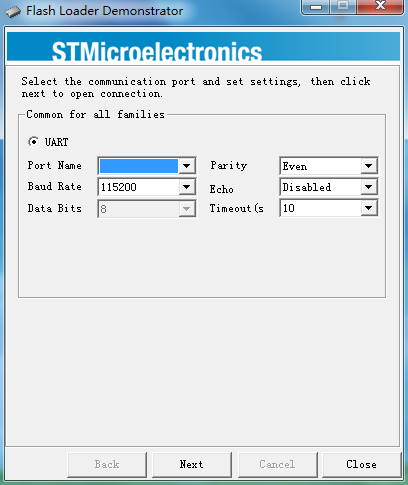
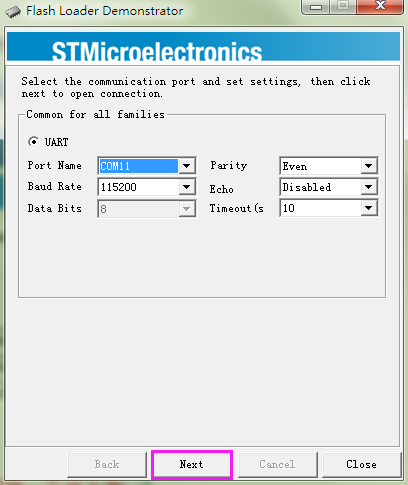
Open the Flash Loader Demonstrator, as shown blow:
1. Cut off power
2. Connect the SBL and 3.3V of CC3D for now, power it on.
3. Select the correct port and Click Next.
If this interface appears, it indicates that you've connected them successfully.
Check here and ensure that it's STM32_Med-density_128K
Click Erase first to erase the original bootloader
Click Back, Select Download to device.
Under Download from file, choose 8000000 which is the area of the bootloader. Under Download from file, click the browse button and find the bl_cc3d.bin file in the unzipped CC3D bootloader.zip folder, select it and click Open.
Click Next for download (processing as shown below):
Download is completed.
So now the Bootloader for CC3D is downloaded successfully.
2. Firmware Update
Open the installed OpenPilot GCS on your computer. Click Vehicle Setup Wizard.
Click Next.
Click Upgrade.
When the following window appears, connect the CC3D flight control to the computer via a USB cable.
Wait for loading.
Click Next and finish the setting based on the CC3D user manual.
Then click Save.
So the firmware is upgraded.