Difference between revisions of "4 Inch Touch Screen Monitor for Raspberry Pi"
From Wiki
(→Step1=) |
(→Step1) |
||
| Line 15: | Line 15: | ||
Click "CHOOSE OS" to choose the control system. | Click "CHOOSE OS" to choose the control system. | ||
<br> | <br> | ||
| + | [[File:SC009 4.png]] | ||
| + | <br> | ||
| + | Click "CHOOSE SD CARD". | ||
| + | <br> | ||
| + | [[File:SC009 5.png]] | ||
| + | <br> | ||
| + | Click "WRITE" to start writing in the system. Please wait for a moment. | ||
| + | <br> | ||
| + | [[File:SC009 6.png]] | ||
| + | ===Step2=== | ||
Revision as of 02:34, 7 April 2020
Introduction
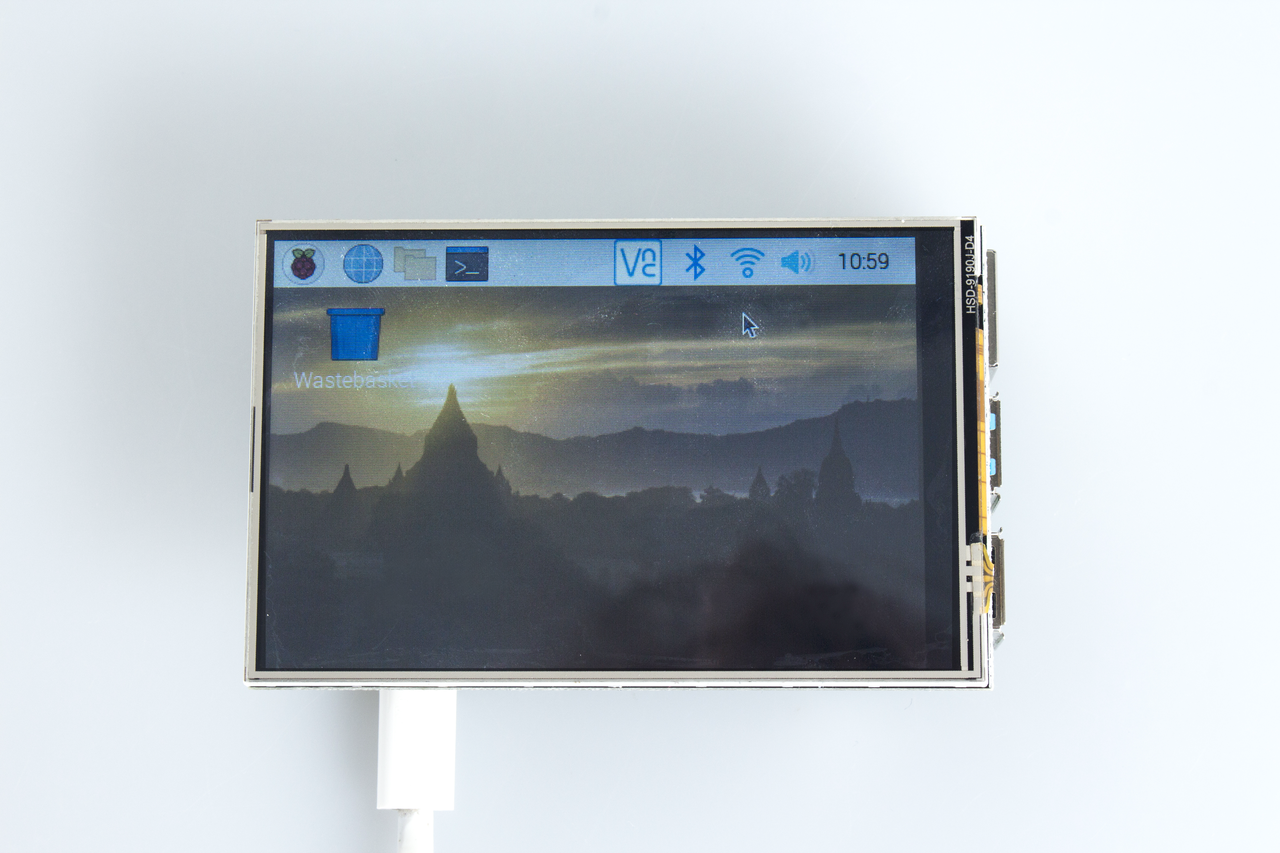
This monitor is specially designed for Raspberry Pi.First use requires some configuration
Step1
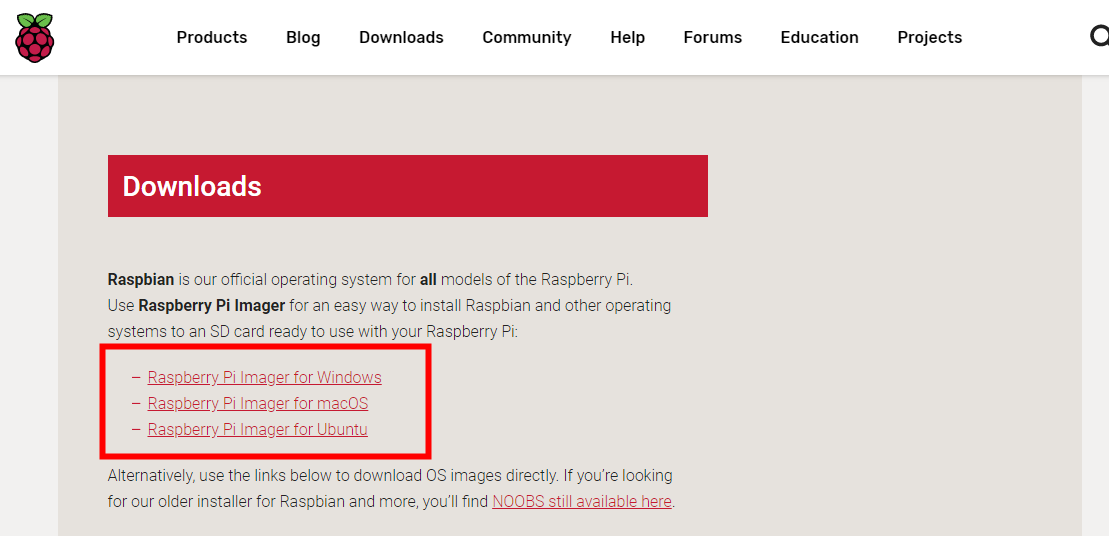
Download the image you need by accessing the Raspberry Pi official tool
https://www.raspberrypi.org/downloads/
The following page pops up after the tool installation.
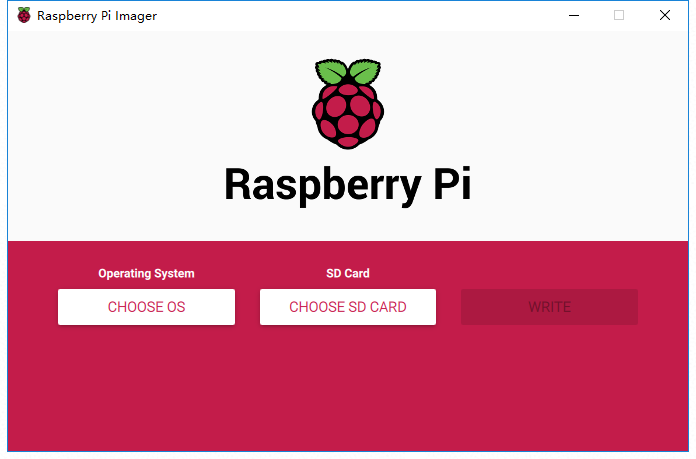
Click "CHOOSE OS" to choose the control system.
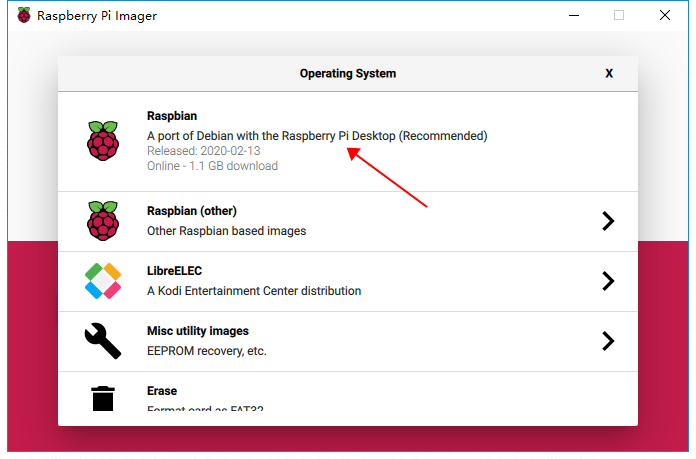
Click "CHOOSE SD CARD".
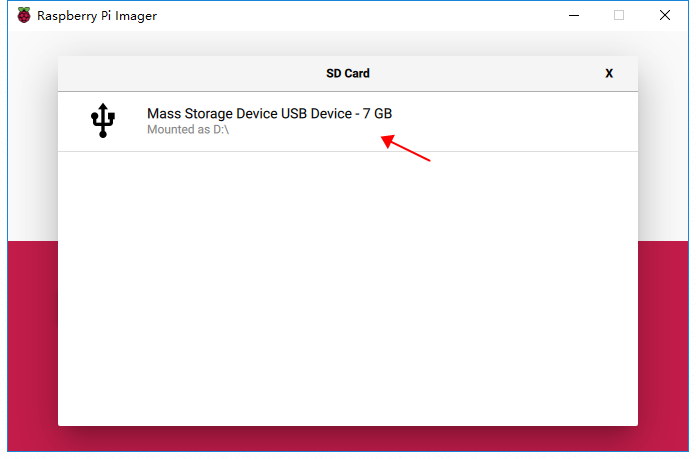
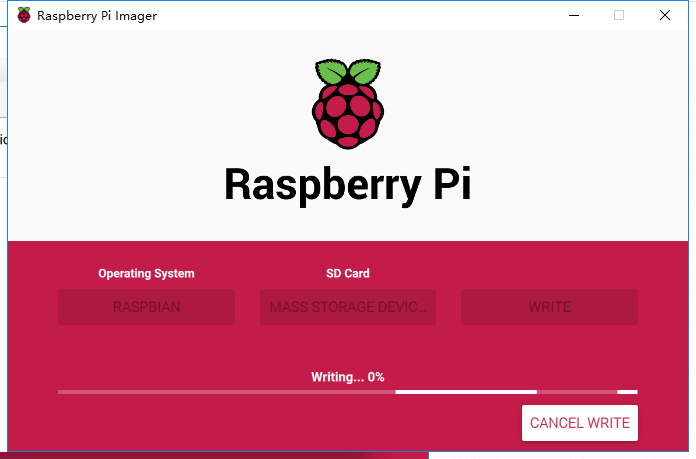
Click "WRITE" to start writing in the system. Please wait for a moment.
