Difference between revisions of "7 Inch Screen Manual"
From Wiki
(→7 Inch DIY Touch Screen) |
|||
| Line 5: | Line 5: | ||
<br> | <br> | ||
| − | == Supporting the Seven-inch Screen == | + | == '''Supporting the Seven-inch Screen''' == |
Use a nut (M3) and a copper post (M3 * 8 + 6) to support the seven-inch touch screen. | Use a nut (M3) and a copper post (M3 * 8 + 6) to support the seven-inch touch screen. | ||
<br> | <br> | ||
| Line 18: | Line 18: | ||
</pre> | </pre> | ||
| − | == With a Raspberry Pi 4 == | + | == '''With a Raspberry Pi 4''' == |
Connect the Raspberry Pi 4 to HDMI with a micro HDMI cable. | Connect the Raspberry Pi 4 to HDMI with a micro HDMI cable. | ||
<br> | <br> | ||
| Line 32: | Line 32: | ||
<br> | <br> | ||
| − | == Adjust the Resolution of Raspberry Pi 4 == | + | == '''Adjust the Resolution of Raspberry Pi 4''' == |
<br> | <br> | ||
Step 1: Unfold the menu bar of Raspberry Pi. | Step 1: Unfold the menu bar of Raspberry Pi. | ||
| Line 55: | Line 55: | ||
<br> | <br> | ||
| − | == With a Raspberry Pi 3 == | + | == '''With a Raspberry Pi 3''' == |
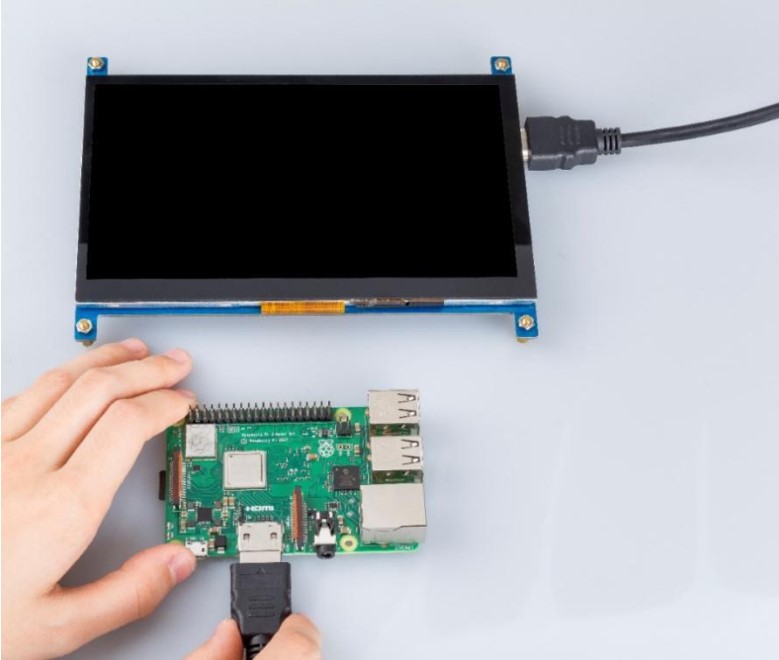
Plug a dual-head HDMI cable in Raspberry Pi 3. | Plug a dual-head HDMI cable in Raspberry Pi 3. | ||
<br> | <br> | ||
Revision as of 06:53, 22 October 2019
Contents
7 Inch DIY Touch Screen
Supporting the Seven-inch Screen
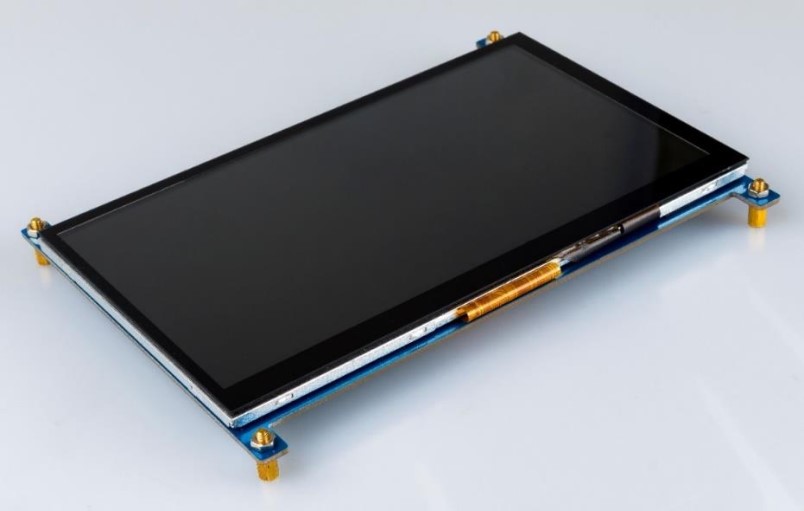
Use a nut (M3) and a copper post (M3 * 8 + 6) to support the seven-inch touch screen.
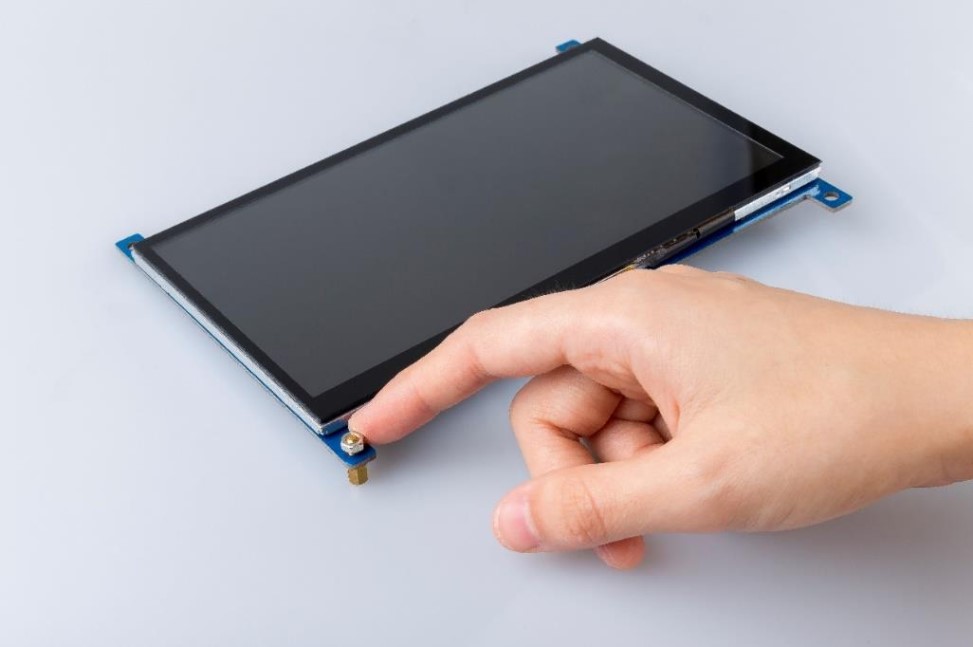
Rendering
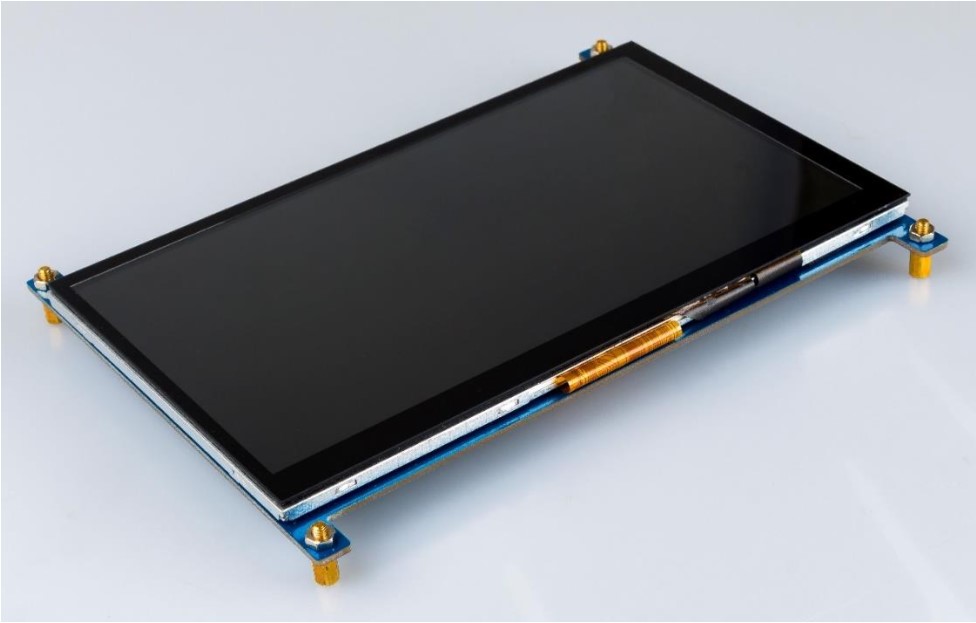
This 7-inch touch screen is compatible with any version of the Raspberry Pi.
With a Raspberry Pi 4
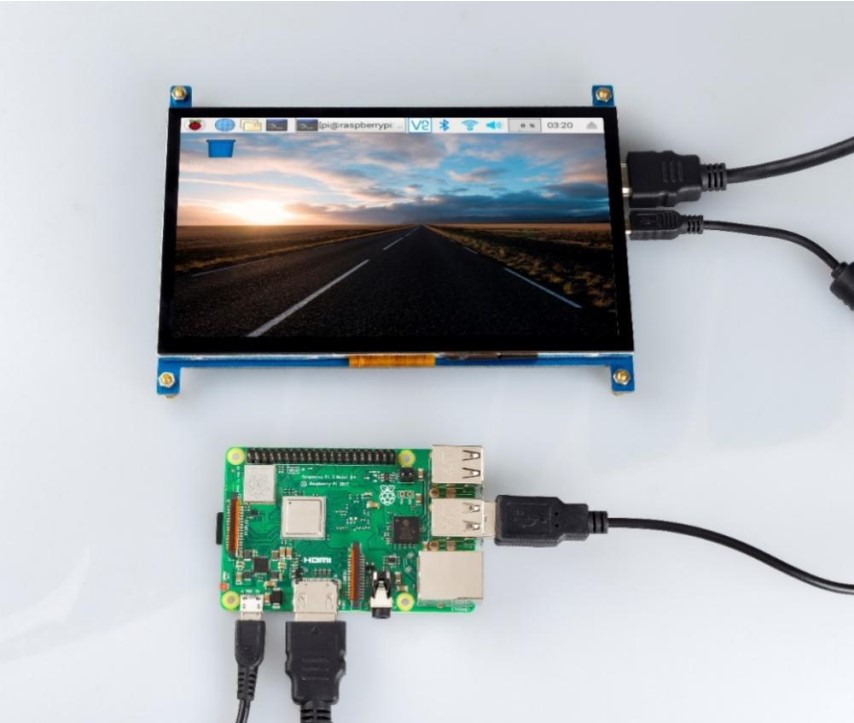
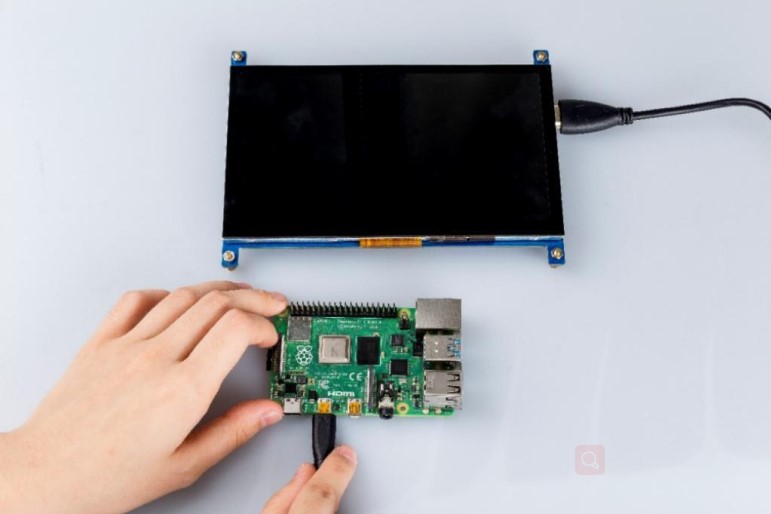
Connect the Raspberry Pi 4 to HDMI with a micro HDMI cable.
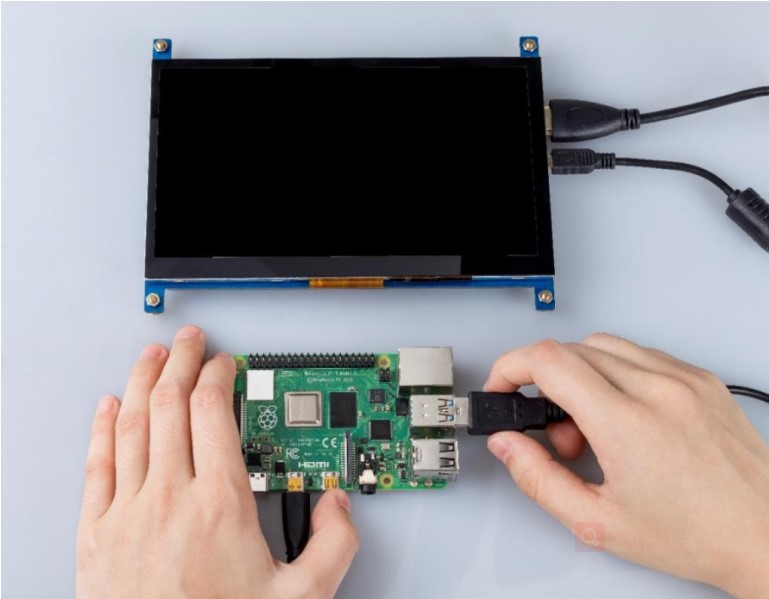
Wire the USB cable up to Raspberry Pi 4.
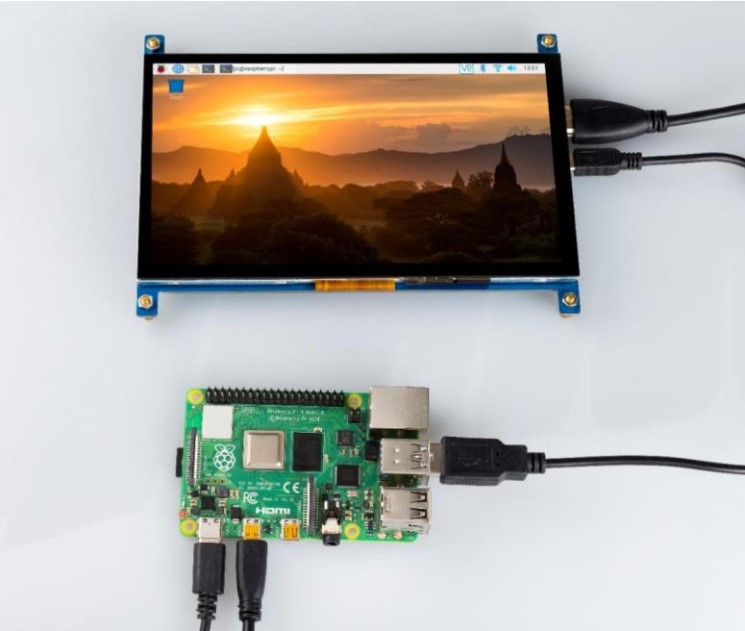
Give it a power supply, Plug and play.
Adjust the Resolution of Raspberry Pi 4
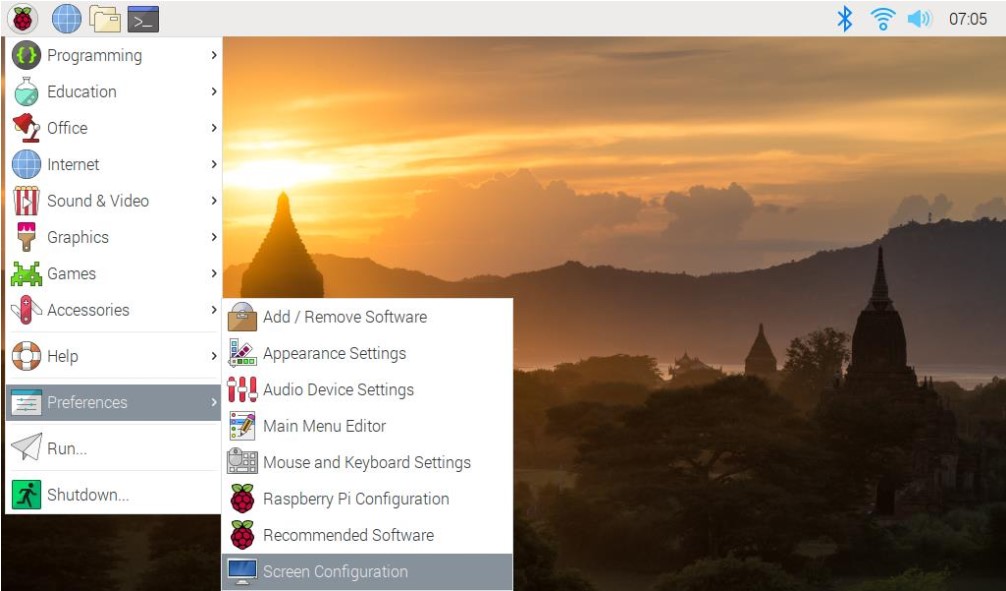
Step 1: Unfold the menu bar of Raspberry Pi.
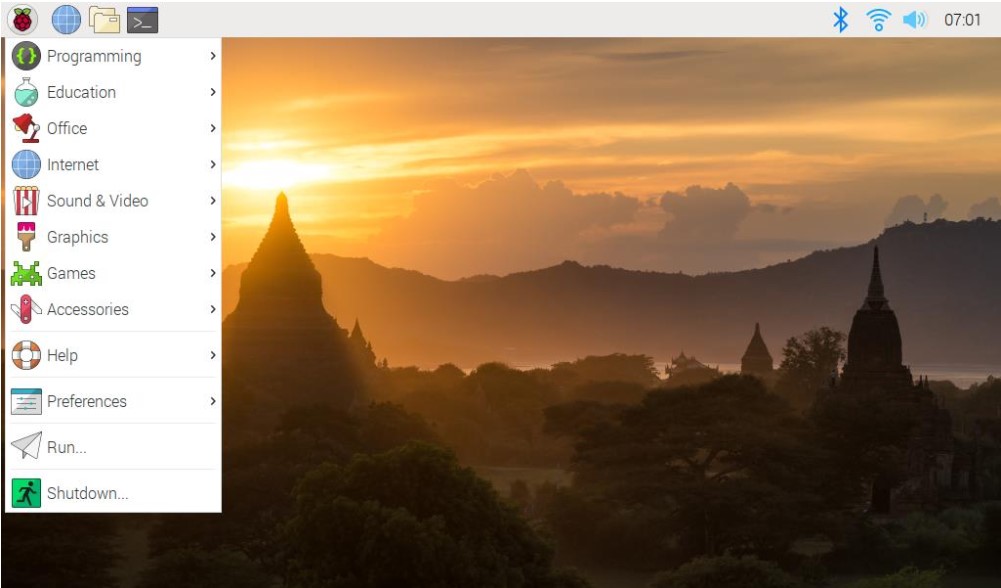
Step 2: Select screen configuration.
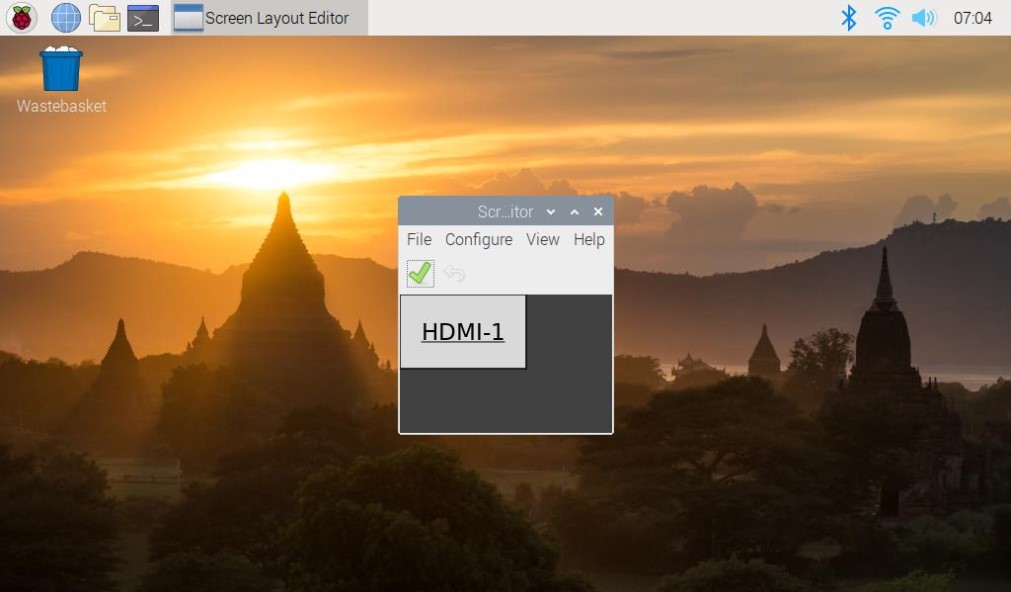
Step 3: Select screen configuration.
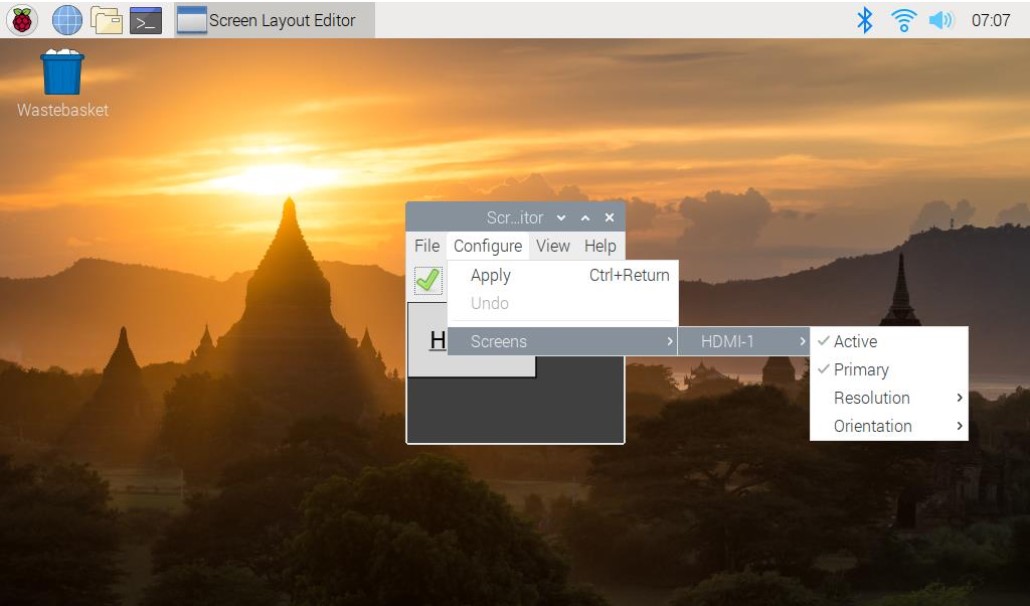
Step 4: Select Screens.
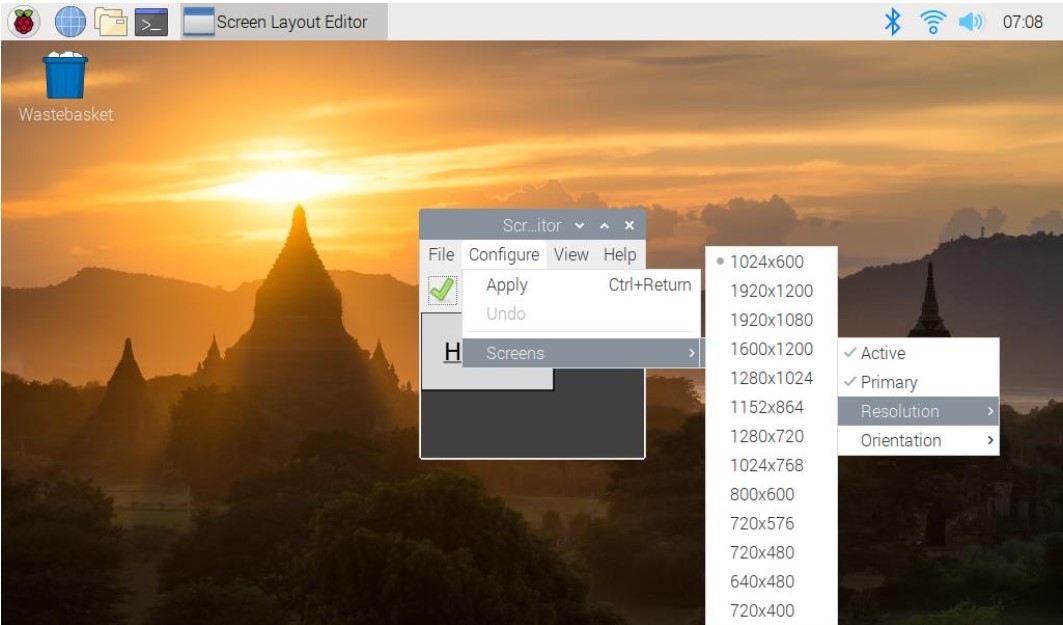
Step 5: Choose the resolution you want.
With a Raspberry Pi 3
Plug a dual-head HDMI cable in Raspberry Pi 3.
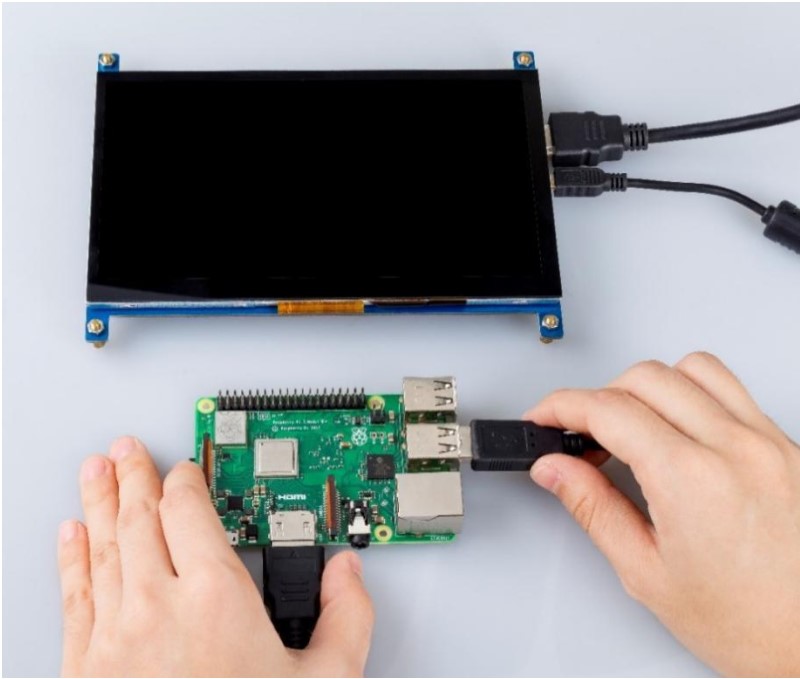
Connect the Raspberry Pi 3 with a USB cable.
Attach a power supply to it, turn it on.
