Difference between revisions of "Mobile Robot Remote Controller"
(Created page with "File:nrf1.jpg =='''Introduction'''== The expansion board integrates the pin sockets for Arduino Nano and NRF24L01, as well as a 2.5D joystick. With this board, you can ma...") |
(No difference)
|
Revision as of 03:35, 18 July 2016
Introduction
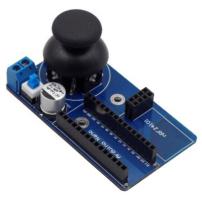
The expansion board integrates the pin sockets for Arduino Nano and NRF24L01, as well as a 2.5D joystick. With this board, you can make a controller by yourself conveniently which can control a robot, smart car, or other smart devices. The joystick can output analog quantities of two directions and digital quantities of one direction.
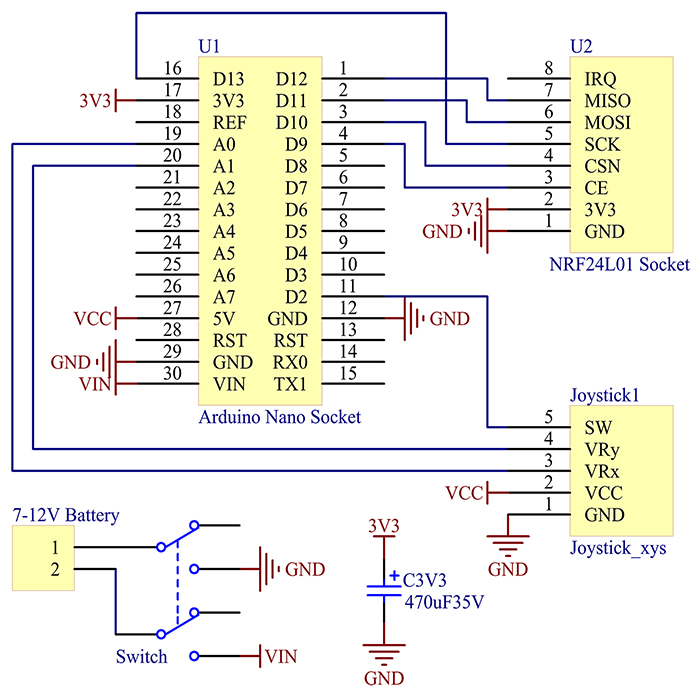
Schematic
Features
1.Integrates the pin sockets for Arduino Nano and NRF24L01
2.With a 2.5 joystick for controlling Working voltage: 7-12V; with a power switch on the board
3.Easy to use with control module/board connected
4.Remote control provides more convenience in your projects
Application
Robots, smart cars, and other smart devices
Note The supply voltage must be within the limit required.
Test Experiment
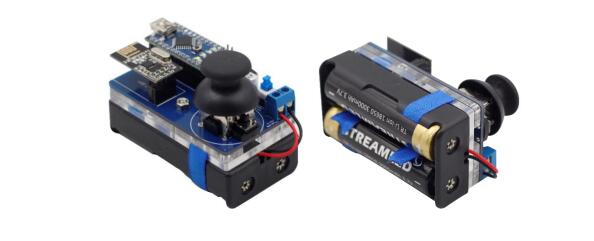
1) Plug in the Nano and Nrf24l01 module
2) Connect the Mobile Robot Remote Controller to PC with a Mini-USB cable. If everything looks good, switch it on. Then the blue LED on the Nano board will light up.
3)Before you upload th ecode ,you need to add the RF24.zip under the Test Code/Library to the Arduino libraries folder. Upload the Transmit.ino to the Mobile Robot Remote Controller. Then Remove the USB cable after upload, and keep the power on.
4)Connect a Receiver to your PC with a USB cable.
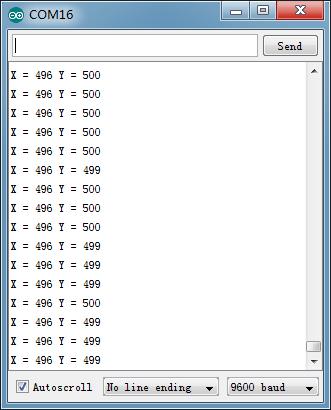
5)Upload the Receive.ino to the receiver. Do not remove the USB cable after upload. Open Serial Monitor.
Now, you should see information received by the nFR24l01 module displayed in the Serial Monitor window. Turn the rocker arm. The value displayed in the Serial Monitor window will change, which indicate wireless communication is working


