Difference between revisions of "10.1 Inch Touch Screen for Raspberry Pi(NEW)"
(→Burn the System to TF Card) |
(→Burn the System to TF Card) |
||
| Line 52: | Line 52: | ||
Insert the card reader, select the system you want to burn, and then click "WRITE" to burn<br> | Insert the card reader, select the system you want to burn, and then click "WRITE" to burn<br> | ||
[[File:Raspberryimgtool.png]]<br> | [[File:Raspberryimgtool.png]]<br> | ||
| − | + | But if you do this, the download process of the system files may be slow, and the system files will not be retained after the burning is completed. If you want to use the TORRENT file to download the system, or burn the system to multiple SD cards, you can follow the following Steps to operate<br><br> | |
'''Step 1'''<br><br> | '''Step 1'''<br><br> | ||
Revision as of 08:51, 20 May 2020
Introduction
Resolution: 1280x800
Power: DC 12V/1.5A
Consumption: 4W
LCD Type: IPS
Capactive Touch
5-point Touch Screen
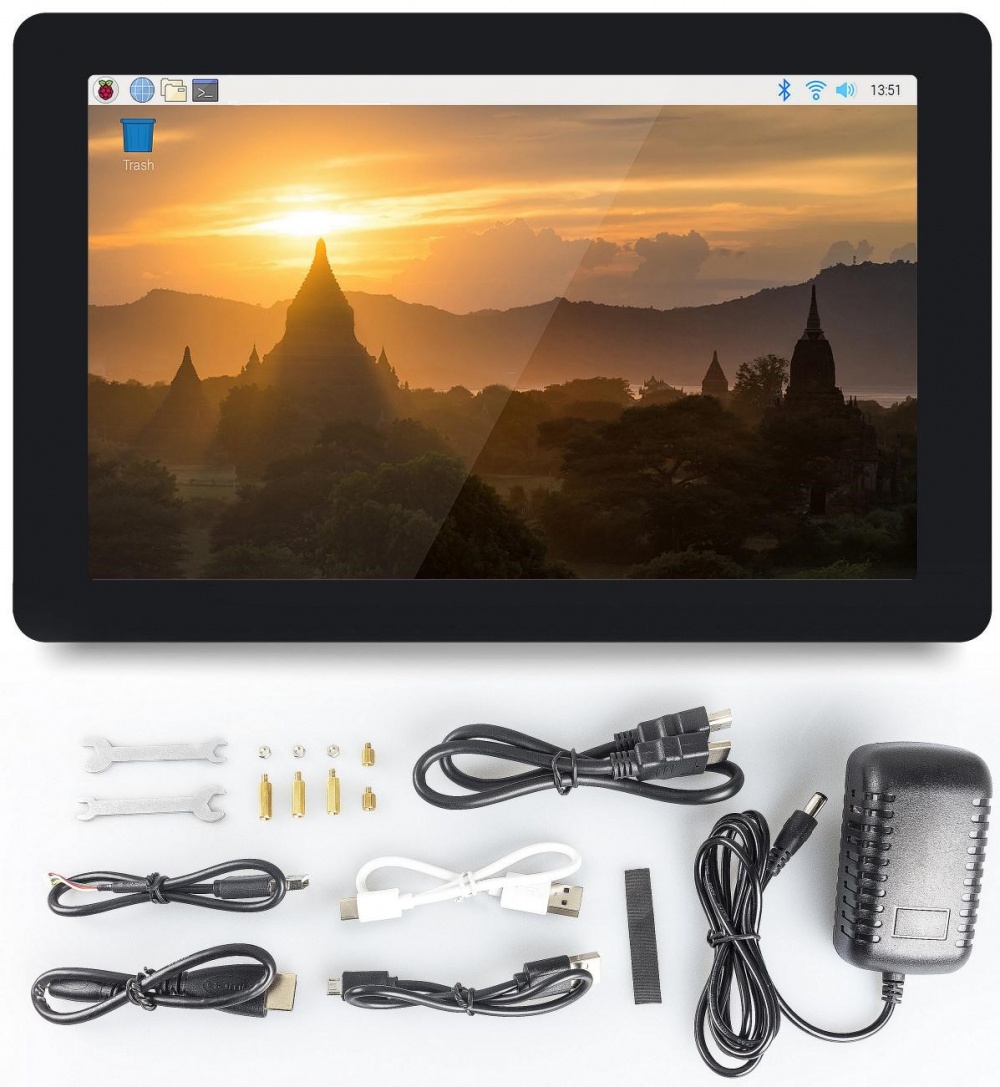
SunFounder 10.1 IPS monitor is a 5-point capacitive touch screen with a resolution of 1280x800, bringing you perfect visual experience. It works with various operating systems including Raspbian, Ubuntu, Ubuntu Mate, Windows, Android, and Chrome OS (you may need an USB extension cable).
Hardware Description
LED Indicators
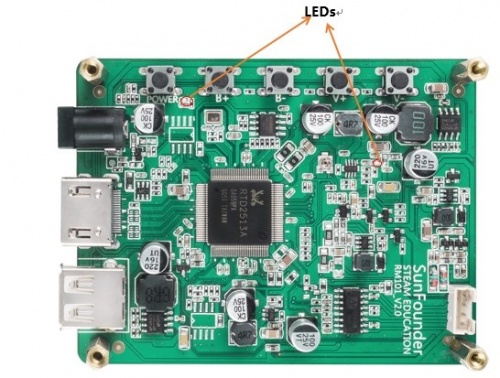
There are 2 LED indicators on the main board of the screen to show different signals:
- Power on the screen, after the green LED flashes one time, it lights on continuously; and the red LED lights on immediately.
- If there's no HDMI signal, only the red LED will turn on.
- If there's an HDMI signal, these two LEDs will turn on.
- If you press the power button, the green LED will turn off and the red LED will keep turning on.
- If you remove the power cord, both of the two LEDs will turn off.
Buttons
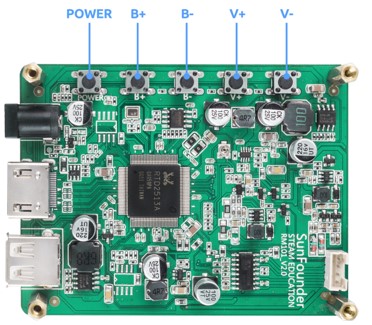
Buttons on the main board and their functions:
- Power:Short press to switch ON/OFF(go into the sleep mode) the screen. Long press to power ON/OFF the device(Raspberry Pi).
- B+:Increase screen brightness.
- B-:Reduce screen brightness.
- V+:Volume up.
- V-:Volume down.
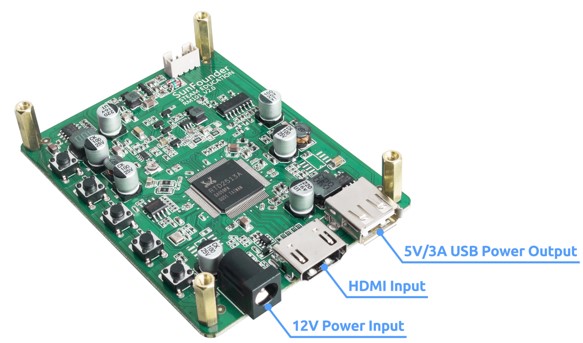
On one side of the main board there are ports of HDMI input, 12V power input, and 5V/3A USB power output.
Burn the System to TF Card
Note:
- Do not install the Raspbian system by means of NOOBS, otherwise there appears touch failure.
- On other displays, if you have installed the system on your Raspberry Pi by means of NOOBS, you can still use the 10.1-inch touch screen.
- If you have already installed the system, you can directly skip this chapter. Turn to next chapter to refer to Connect the Raspberry Pi and Screen, and you can get to use the 10.1-inch touch screen.
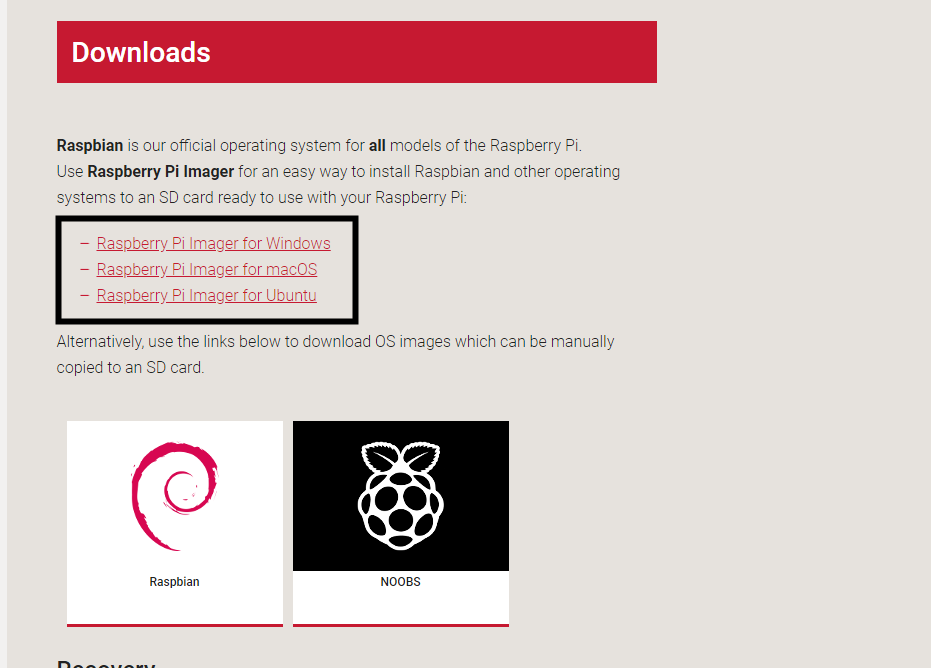
You can use the official raspberry PI mirror burning tool directly
link: https://www.raspberrypi.org/downloads/
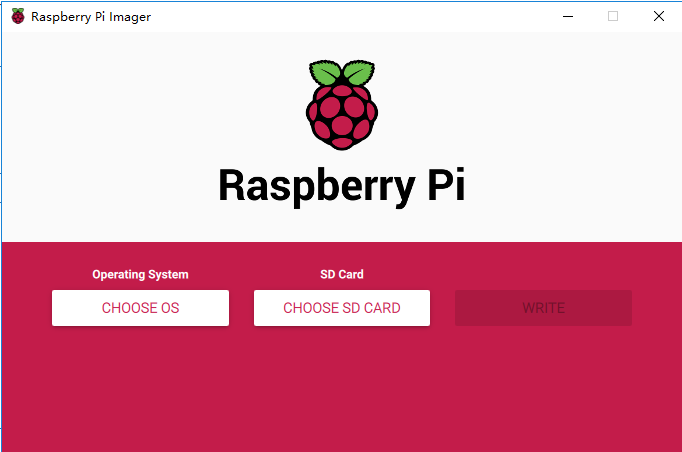
Insert the card reader, select the system you want to burn, and then click "WRITE" to burn
But if you do this, the download process of the system files may be slow, and the system files will not be retained after the burning is completed. If you want to use the TORRENT file to download the system, or burn the system to multiple SD cards, you can follow the following Steps to operate
Step 1
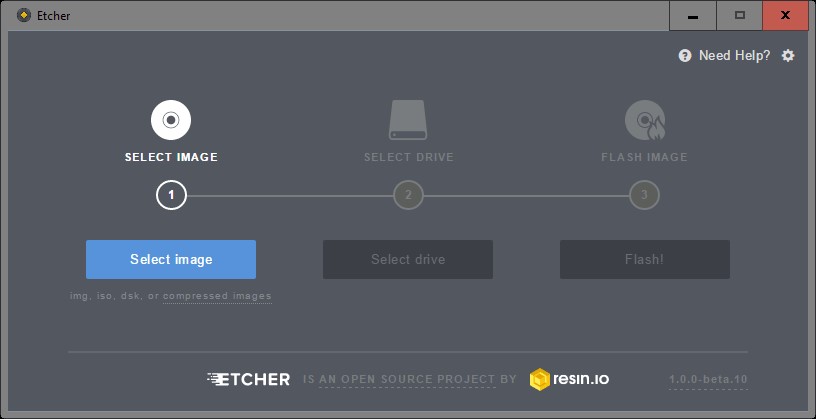
Prepare the tool of image burning. Here we use the Etcher. You can download the software from the
link: https://www.balena.io/etcher/
Step 2
Download the complete image on the official website by clicking this
link: https://www.raspberrypi.org/downloads/raspbian/.
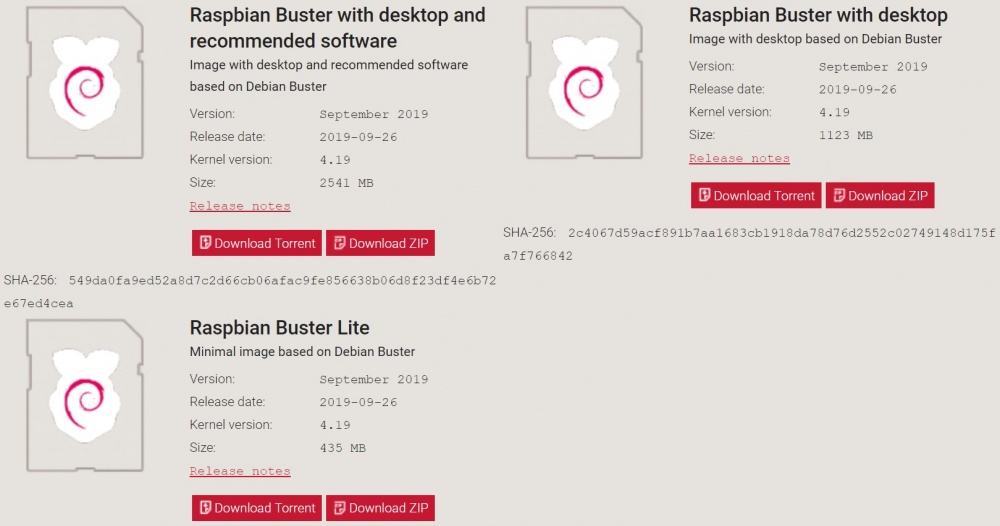
There are three different kinds of Raspbian Stretches available, among which the Raspbian Buster with desktop and recommended software will be the best choice if you have no other special requirements.
Step 3
Unzip the package downloaded and you will see the .img file inside.
Note: DO NOT extract the file.
Step 4
With the application of Etcher, flash the image file, raspbian into the Micro SD card.
At this point, the Micro SD card pops up. Insert the Micro SD card into the Raspberry Pi.