Install the fan for Raspad
From Wiki
Install the fan step-by-stepp
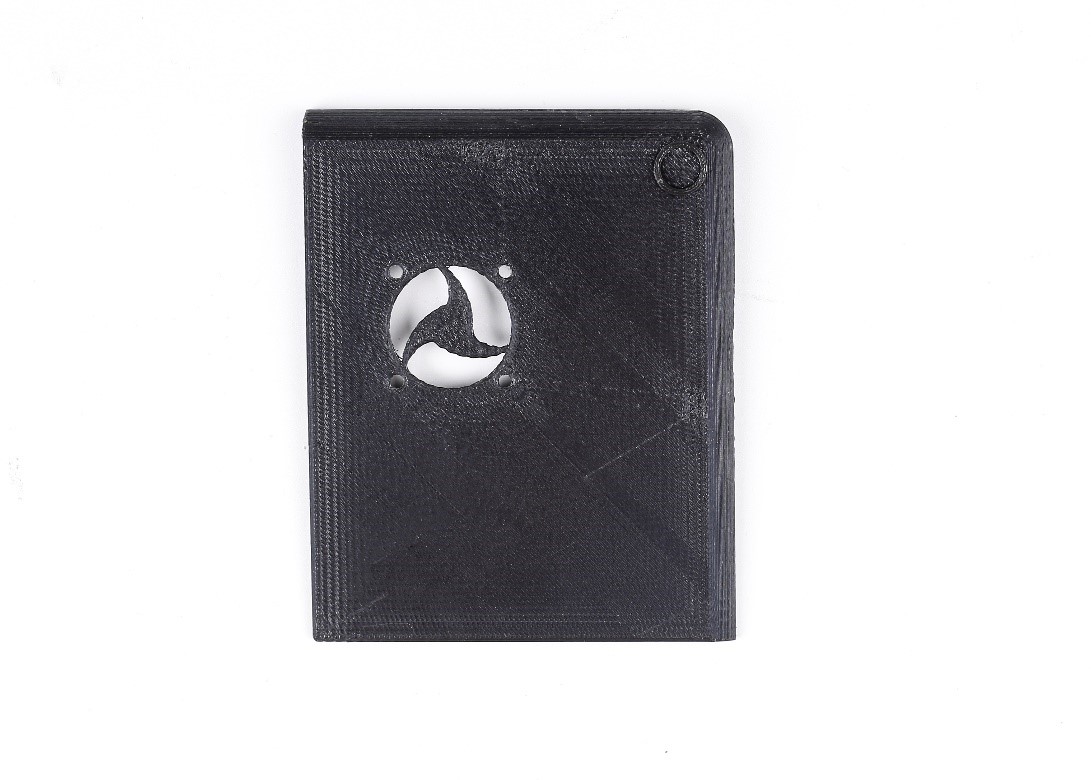
1. Download and print the “slide cover.STEP” file.
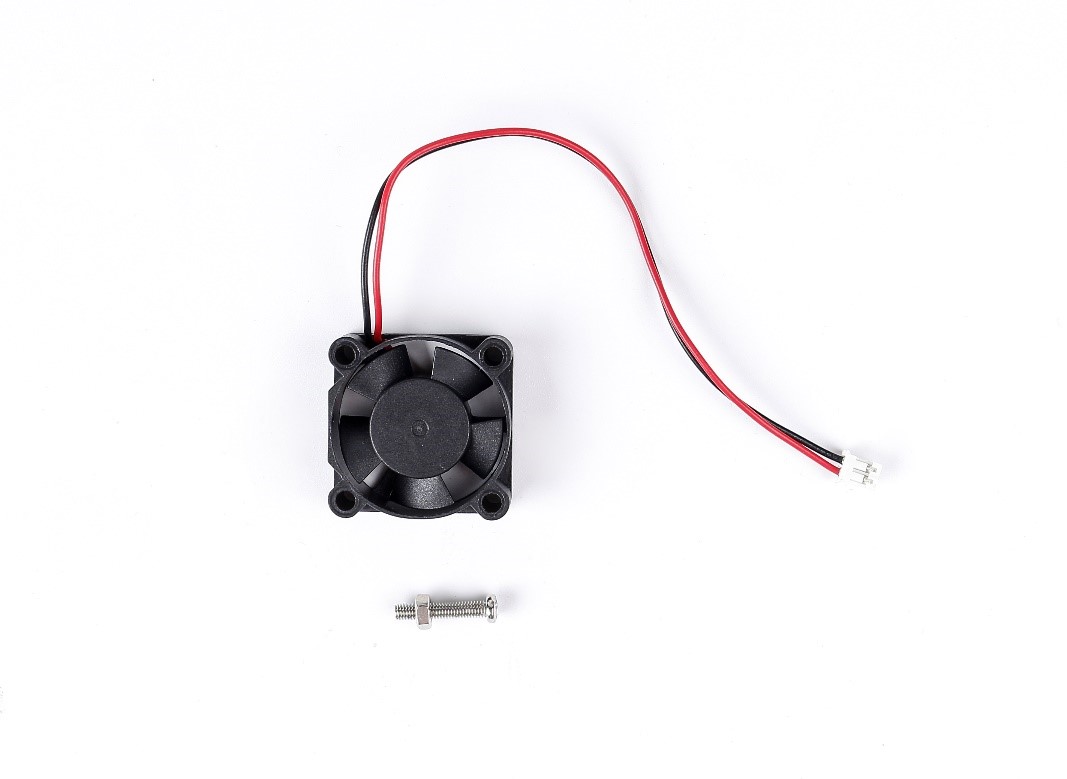
2. Purchase a 30x30x10mm 5V fan (length and width 30 mm, height less than 12mm) and 4 screws with nuts (length is fan thickness +5mm, diameter is 3mm).
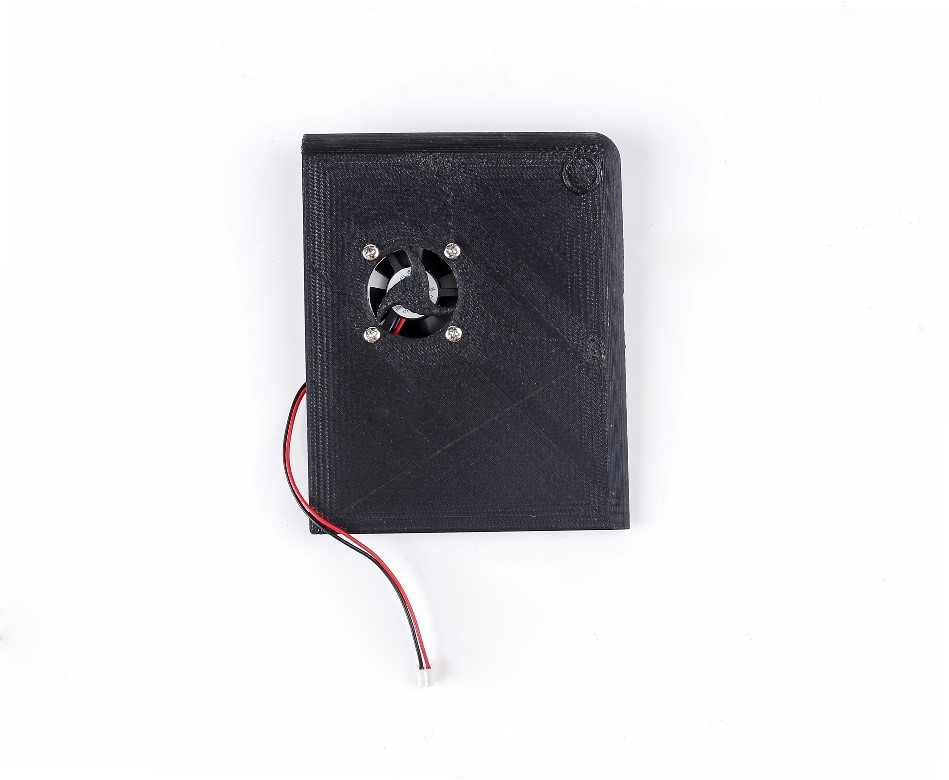
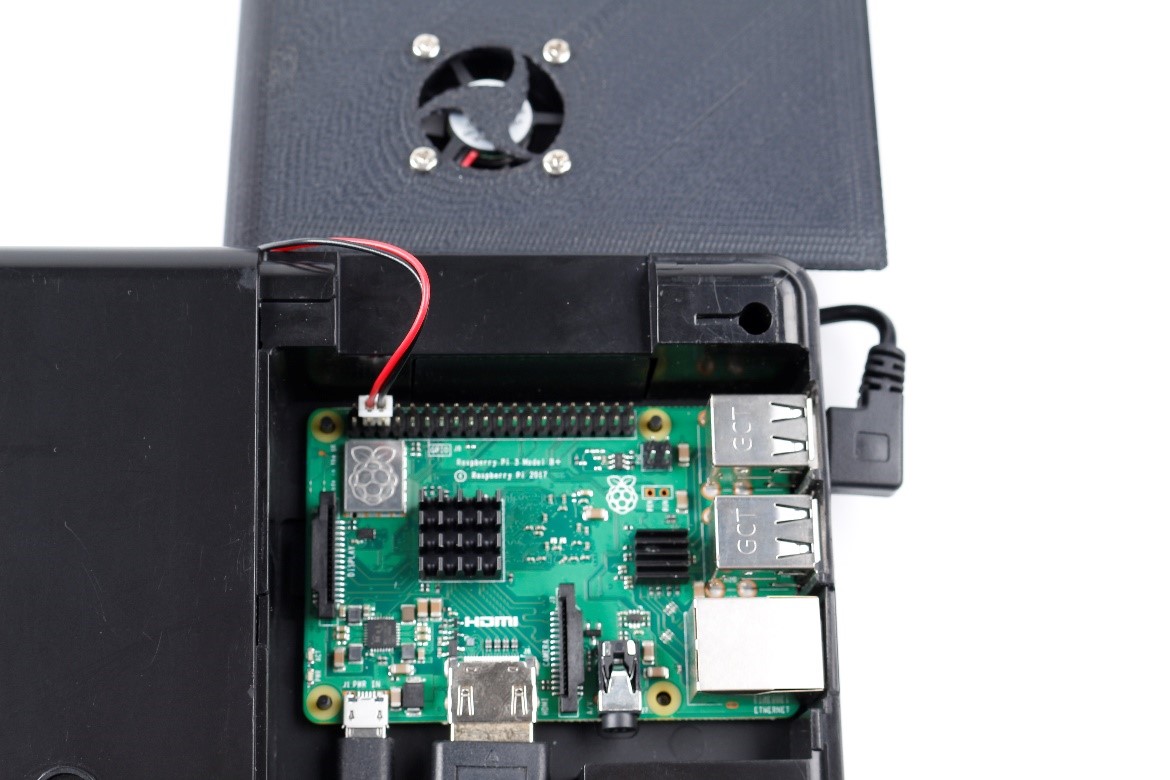
3. Install the fan.
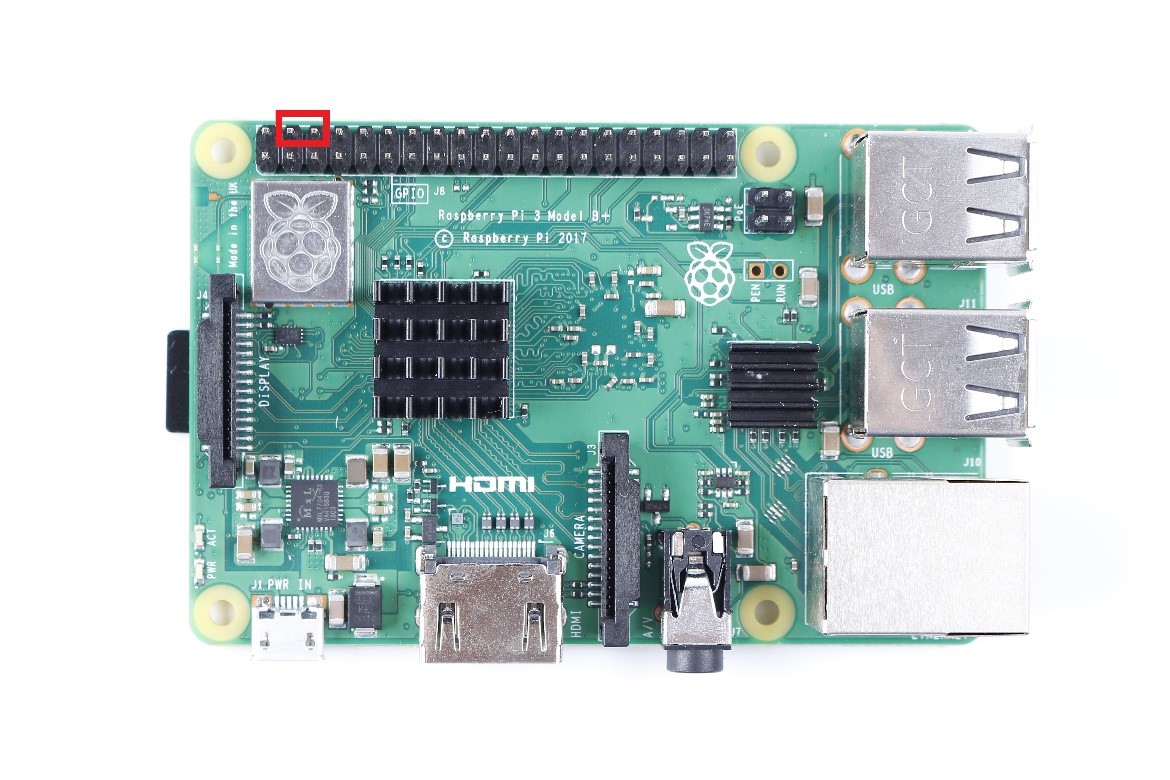
4. The second and third pins of the first row of the Raspberry Pi are VCC and GND.
5. Insert the fan interface to the Raspberry Pi.
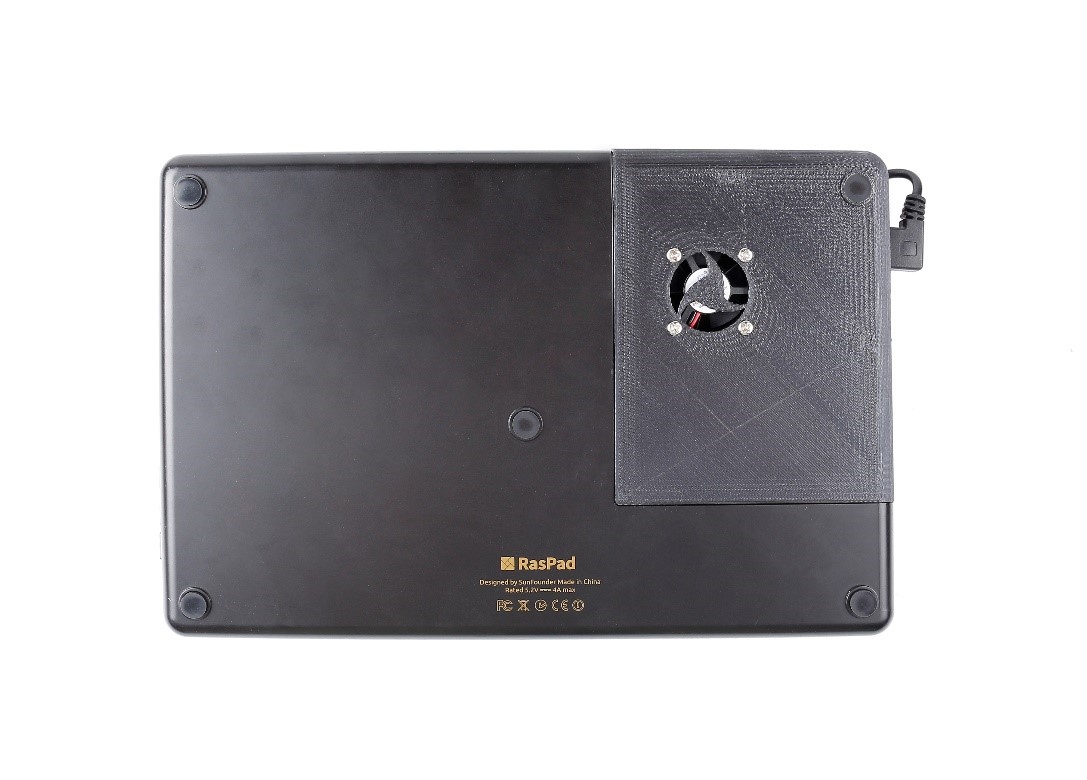
6. Cover the slide. And stick the silicone pad.
7. start RasPad, observe whether the fan is blowing outside, if not, please opposite insert the fan interface into the Raspberry Pi.
8. The fan installation is complete.
